In the world of computing, organizing and managing data effectively is key to maintaining a smooth and efficient system. One powerful way to achieve this in Windows 10 is by partitioning the C drive without the need to format it.
This process allows you to separate your data, install multiple operating systems, or create a dedicated space for specific applications, all while keeping your existing data safe. This guide provides a comprehensive walkthrough of partitioning your C drive in Windows 10, ensuring that even beginners can follow along with ease.

Understanding Partitioning
Partitioning a hard drive is akin to dividing a large room into smaller sections, where each section can be used for a different purpose. In computer terms, it means dividing your hard drive into separate, distinct sections, each acting as a standalone unit. This is particularly useful for organizing files, improving system performance, and even for data recovery purposes.
Preparing for Partitioning
Before you begin partitioning your C drive, it’s important to take some preparatory steps to ensure the process goes smoothly.
- Backing Up Data: Always start by backing up your important files. Even though partitioning the C drive without formatting shouldn’t affect your data, it’s better to be safe than sorry.
- Checking Disk Health: Use the built-in Windows tools to check the health of your disk. Open the Command Prompt and type
chkdsk /fto scan and fix any errors.
The Partitioning Process
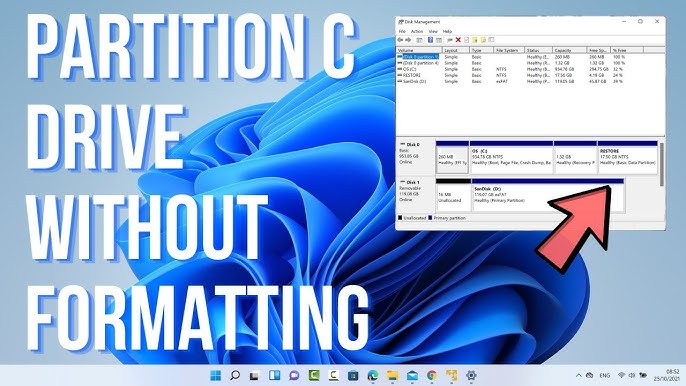
Step 1: Accessing Disk Management
To start partitioning your drive, you first need to access the Disk Management tool. Right-click on the Start menu and select “Disk Management.” This utility provides a visual representation of your hard drive’s partitions.
Step 2: Shrinking the C Drive
Here’s where the actual process begins:
- Right-click on the C drive in Disk Management and select “Shrink Volume.”
- Enter the amount of space you want to shrink your C drive by. This will become the space for the new partition.
- Click “Shrink” to create unallocated space.
Step 3: Creating a New Partition
With the unallocated space ready, you can now create a new partition:
- Right-click on the unallocated space and choose “New Simple Volume.”
- Follow the wizard to assign a drive letter and format the partition. Typically, choosing NTFS as the file system is recommended for Windows.
Customizing the Partition
After creating the new partition, you can customize it to your needs:
- Assigning a Drive Letter: You can change the drive letter anytime by right-clicking on the partition in Disk Management and selecting “Change Drive Letter and Paths.”
- Choosing a File System: If you’re using the partition for Windows, NTFS is preferred. For a drive that will be accessed by different operating systems, consider FAT32 or exFAT.
Tips and Troubleshooting
- Common Issues: One common issue is not having enough unallocated space. Make sure you have enough free space on your C drive before attempting to shrink it.
- Best Practices: Regularly defragment your new partition and keep it organized. Avoid overfilling a partition as it can slow down your system.
Conclusion
Partitioning your C drive in Windows 10 without formatting is a valuable skill that enhances your computer’s functionality and organization. By following these steps, you can create new partitions to suit your specific needs, all while keeping your existing data intact.
This process not only helps in better managing your data but also paves the way for more advanced system customizations.

About Charles Floate
Charles Floate, the founder of VitBit Media Inc., a Ph.D. in Machine Learning from Australia stands out as a dynamic and passionate figure in the digital world. His journey, marked by a profound enthusiasm for gaming and writing, has led him to establish VitBit Media Inc., a platform where technology meets creativity. As a writer, Charles brings a unique blend of technical knowledge and engaging storytelling. His articles and blog posts resonate with a wide audience, ranging from tech enthusiasts to casual readers.